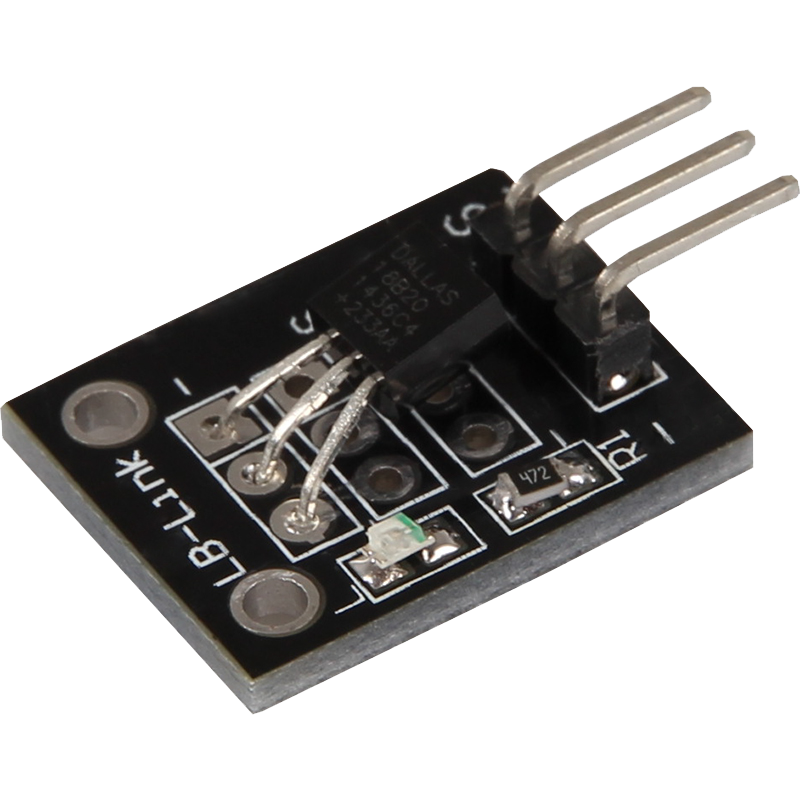
KY-001 Temperature sensor (DS18B20)
The DS18B20 digital thermometer provides 9-bit to 12-bit Celsius temperature measurements.
- Arduino
- Raspberry Pi
- Raspberry Pi Pico
- Micro:Bit
The DS18B20 is a digital thermometer that can measure temperatures in Celsius. It offers different accuracy levels, from 9 to 12 bits. This means that it can provide very accurate measurements, with a higher bit count providing a more accurate temperature measurement. The measuring range of the DS18B20 is between -55°C and +125°C, and the accuracy is ±0.5°C in the range from -10°C to +85°C.
The DS18B20 uses a so-called 1-wire bus to communicate with a microprocessor. This means that only a single data line is needed to exchange information. The sensor can even draw its power from this data line, so no additional power source is required. This mode of operation is called "parasite power".
Each DS18B20 sensor has a unique 64-bit serial code. It is like a unique identification number for each sensor, which means that several DS18B20 sensors can be connected to the same 1-Wire bus and still be individually recognized and read out. This makes it easy to implement networks with multiple sensors.
The sensor is particularly useful in many applications, such as in heating, ventilation and air conditioning (HVAC) systems, for temperature monitoring in buildings or machines and in process monitoring and control systems. Other applications include medical devices, industrial control systems and temperature monitoring in cooling systems.
In summary, the DS18B20 offers a precise and flexible solution for temperature measurement with simple cabling and the possibility of integration into complex systems with multiple sensors.
Technical data
| Technical Data | |
|---|---|
| Chipset | DS18B20 |
| Communication Protocol | 1-Wire |
| Accuracy | 9 to 12 Bit |
| Measuring range | -55 °C to +125 °C |
| Measurement accuracy | ±0.5 °C from -10 °C to +85 °C |
Pin assignment


| Arduino | Sensor |
|---|---|
| Pin 4 | signal |
| 5 V | +V |
| GND | GND |
Code-Example:
To load the following code example onto your Arduino, we recommend using the Arduino IDE. In the IDE, you can select the appropriate port and the correct board for your device.
The following libraries are also used for the code example:
OneWire Library by Paul Stoffregen | published with MIT License
Dallas Temperature Control Library by Miles Burton | published with LGPL
You can easily add these libraries via the library manager of the Arduino IDE. Then copy the code below into your IDE. To upload the code to the Arduino, simply click on the upload button.
// Required libraries will be imported
#include <OneWire.h>
#include <DallasTemperature.h>

// Here the input pin is declared to which the sensor module is connected
#define KY001_Signal_PIN 4

// Libraries are configured
OneWire oneWire(KY001_Signal_PIN);
DallasTemperature sensors(&oneWire);


void setup() {

    // Initialize serial output
    Serial.begin(9600);
    Serial.println("KY-001 temperature measurement");

    // Sensor is initialized
    sensors.begin();
}

//main program loop
void loop()
{
    // Temperature measurement is started...
    sensors.requestTemperatures();
    // ... and measured temperature is printed.
    Serial.print("Temperature: ");
    Serial.print(sensors.getTempCByIndex(0));
    Serial.println(" °C");

    delay(1000); // 1s pause until next measurement
}
The DS18B20 is a digital thermometer that can measure temperature in Celsius. It offers different accuracy levels from 9 to 12 bits. This means that it can provide very accurate measurements, with a higher bit count providing a more accurate temperature measurement. The measuring range of the DS18B20 is between -55°C and +125°C, and the accuracy is ±0.5°C in the range from -10°C to +85°C.
The DS18B20 uses a so-called 1-wire bus to communicate with a microprocessor. This means that only a single data line is needed to exchange information. The sensor can even draw its power from this data line, so no additional power source is required. This mode of operation is called "parasite power".
Each DS18B20 sensor has a unique 64-bit serial code. This is like a unique identification number for each sensor. This means that several DS18B20 sensors can be connected to the same 1-Wire bus and still be individually recognized and read out. This makes it easy to implement networks with multiple sensors.
This sensor is particularly useful in many applications, such as in heating, ventilation and air conditioning (HVAC) systems, for temperature monitoring in buildings or machines and in process monitoring and control systems. Other applications include medical devices, industrial control systems and temperature monitoring in cooling systems.
In summary, the DS18B20 offers a precise and flexible solution for temperature measurement with simple cabling and the possibility of integration into complex systems with multiple sensors.
| Technical Data | |
|---|---|
| Chipset | DS18B20 |
| Communication Protocol | 1-Wire |
| Accuracy | 9 to 12 Bit |
| Measuring range | -55 °C to +125 °C |
| Measurement accuracy | ±0.5 °C from -10 °C to +85 °C |
Pin assignment

| Raspberry Pi | Sensor |
|---|---|
| GPIO4 [Pin 7] | Signal |
| 3.3 V [Pin 1] | +V |
| GND [Pin 6] | GND |
Code-Example
To enable the Raspberry Pi to communicate with the DS18B20 sensor via the one-wire bus, it must first be activated. To do this, enter the following command:
sudo raspi-config
Now go to Interface Options and activate the 1-Wire interface. Your Raspberry Pi should then restart automatically. Or you can use the following command to restart manually:
sudo reboot
You can now use the following example. A console output is generated as soon as a signal is detected.
This is an example program that outputs the measured temperature serially after the sensor has been initialized.
# SPDX-FileCopyrightText: 2019 Mikey Sklar for Adafruit Industries
#
# SPDX-License-Identifier: MIT

import glob
import time

base_dir = '/sys/bus/w1/devices/'
device_folder = glob.glob(base_dir + '28*')[0]
device_file = device_folder + '/w1_slave'

def read_temp_raw():
	f = open(device_file, 'r')
	lines = f.readlines()
	f.close()
	return lines

def read_temp():
	lines = read_temp_raw()
	while lines[0].strip()[-3:] != 'YES':
		time.sleep(0.2)
		lines = read_temp_raw()
	equals_pos = lines[1].find('t=')
	if equals_pos != -1:
		temp_string = lines[1][equals_pos+2:]
		temp_c = float(temp_string) / 1000.0
		temp_f = temp_c * 9.0 / 5.0 + 32.0
		return temp_c, temp_f

while True:
	print(read_temp())
	time.sleep(1)
The DS18B20 is a digital thermometer that can measure temperature in Celsius. It offers different accuracy levels from 9 to 12 bits. This means that it can provide very accurate measurements, with a higher bit count providing a more accurate temperature measurement. The measuring range of the DS18B20 is between -55°C and +125°C, and the accuracy is ±0.5°C in the range from -10°C to +85°C.
The DS18B20 uses a so-called 1-wire bus to communicate with a microprocessor. This means that only a single data line is needed to exchange information. The sensor can even draw its power from this data line, so no additional power source is required. This mode of operation is called "parasite power".
Each DS18B20 sensor has a unique 64-bit serial code. This is like a unique identification number for each sensor. This means that several DS18B20 sensors can be connected to the same 1-Wire bus and still be individually recognized and read out. This makes it easy to implement networks with multiple sensors.
This sensor is particularly useful in many applications, such as in heating, ventilation and air conditioning (HVAC) systems, for temperature monitoring in buildings or machines and in process monitoring and control systems. Other applications include medical devices, industrial control systems and temperature monitoring in cooling systems.
In summary, the DS18B20 offers a precise and flexible solution for temperature measurement with simple cabling and the possibility of integration into complex systems with multiple sensors.
| Technical Data | |
|---|---|
| Chipset | DS18B20 |
| Communication Protocol | 1-Wire |
| Accuracy | 9 to 12 Bit |
| Measuring range | -55 °C to +125 °C |
| Measurement accuracy | ±0.5 °C from -10 °C to +85 °C |
Pin assignment

| Micro:Bit | Sensor |
|---|---|
| Pin 1 | Signal |
| 3 V | +V |
| GND | GND |
Code-Example
An additional library is needed for the following code example:
pxt-ds18b20 from DFRobot | published under the GUI License.
Add the library to your IDE by clicking on "Extensions" and entering the following URL in the search box: https://github.com/DFRobot/pxt-ds18b20.git Confirm the search with [Enter].
		basic.forever(function () {
		    serial.writeValue("temp ", DS18B20.TemperatureNumber(DS18B20.pin.pin1))
		    basic.pause(1000)
		    serial.writeLine("temp : " + DS18B20.TemperatureString(DS18B20.pin.pin1))
		    basic.pause(1000)
		    basic.showNumber(DS18B20.TemperatureNumber(DS18B20.pin.pin1))
		    basic.pause(100)
		})
Example program download
The DS18B20 is a digital thermometer that can measure temperature in Celsius. It offers different accuracy levels from 9 to 12 bits. This means that it can provide very accurate measurements, with a higher bit count providing a more accurate temperature measurement. The measuring range of the DS18B20 is between -55°C and +125°C, and the accuracy is ±0.5°C in the range from -10°C to +85°C.
The DS18B20 uses a so-called 1-wire bus to communicate with a microprocessor. This means that only a single data line is needed to exchange information. The sensor can even draw its power from this data line, so no additional power source is required. This mode of operation is called "parasite power".
Each DS18B20 sensor has a unique 64-bit serial code. This is like a unique identification number for each sensor. This means that several DS18B20 sensors can be connected to the same 1-Wire bus and still be individually recognized and read out. This makes it easy to implement networks with multiple sensors.
This sensor is particularly useful in many applications, such as in heating, ventilation and air conditioning (HVAC) systems, for temperature monitoring in buildings or machines and in process monitoring and control systems. Other applications include medical devices, industrial control systems and temperature monitoring in cooling systems.
In summary, the DS18B20 offers a precise and flexible solution for temperature measurement with simple cabling and the possibility of integration into complex systems with multiple sensors.
| Technical data | |
|---|---|
| Chipset | DS18B20 |
| Communication Protocol | 1-Wire |
| Accuracy | 9 to 12 Bit |
| Measuring range | -55 °C to +125 °C |
| Measurement accuracy | ±0.5 °C from -10 °C to +85 °C |
Pin assignment

| Raspberry Pi Pico | Sensor |
|---|---|
| GPIO2 | Signal |
| 3,3V | +V |
| GND | GND |
Code-Example
To load the following code example onto your Pico, we recommend using the Thonny IDE. All you have to do first is go to Run > Configure interpreter ... > Interpreter > Which kind of interpreter should Thonny use for running your code? and select MicroPython (Raspberry Pi Pico).
The following libraries are used for the code example:
OneWire Library by Damien P. George | published under the MIT License.
DS18X20 Library by Damien P. George | published under the MIT License.
To use these libraries, you need to download the py -files linked above and load them onto the Pico in a folder named lib (you may need to create this folder). Afterwards you can copy the code below into your IDE and click on Run.
This is an example program which outputs the measured temperature serially after initialization of the sensor.
# Load libraries
import machine, onewire, ds18x20
from time import sleep

# Initialization of GPIO10
ds_pin = machine.Pin(10)

# Initialization from DS18B20
ds_sensor = ds18x20.DS18X20(onewire.OneWire(ds_pin))

# Search for all matching sensors
roms = ds_sensor.scan()

# Serial output
print("KY-001 Temperature measurement")

# Endless loop for continuous reading of the temperature
while True:
  ds_sensor.convert_temp()
  sleep(1)
  # Count up based on the number of compatible sensors found
  for rom in roms:
    # Serial output of the measured temperature
    print("Temperature:", round(ds_sensor.read_temp(rom), 2), "°C")
  sleep(1)